Your Cart is Empty

- Home
- ON SALE
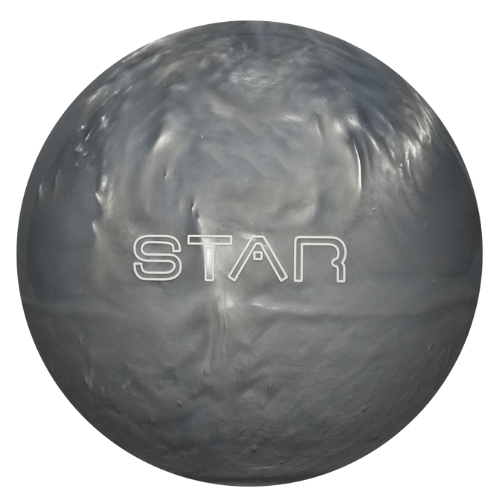
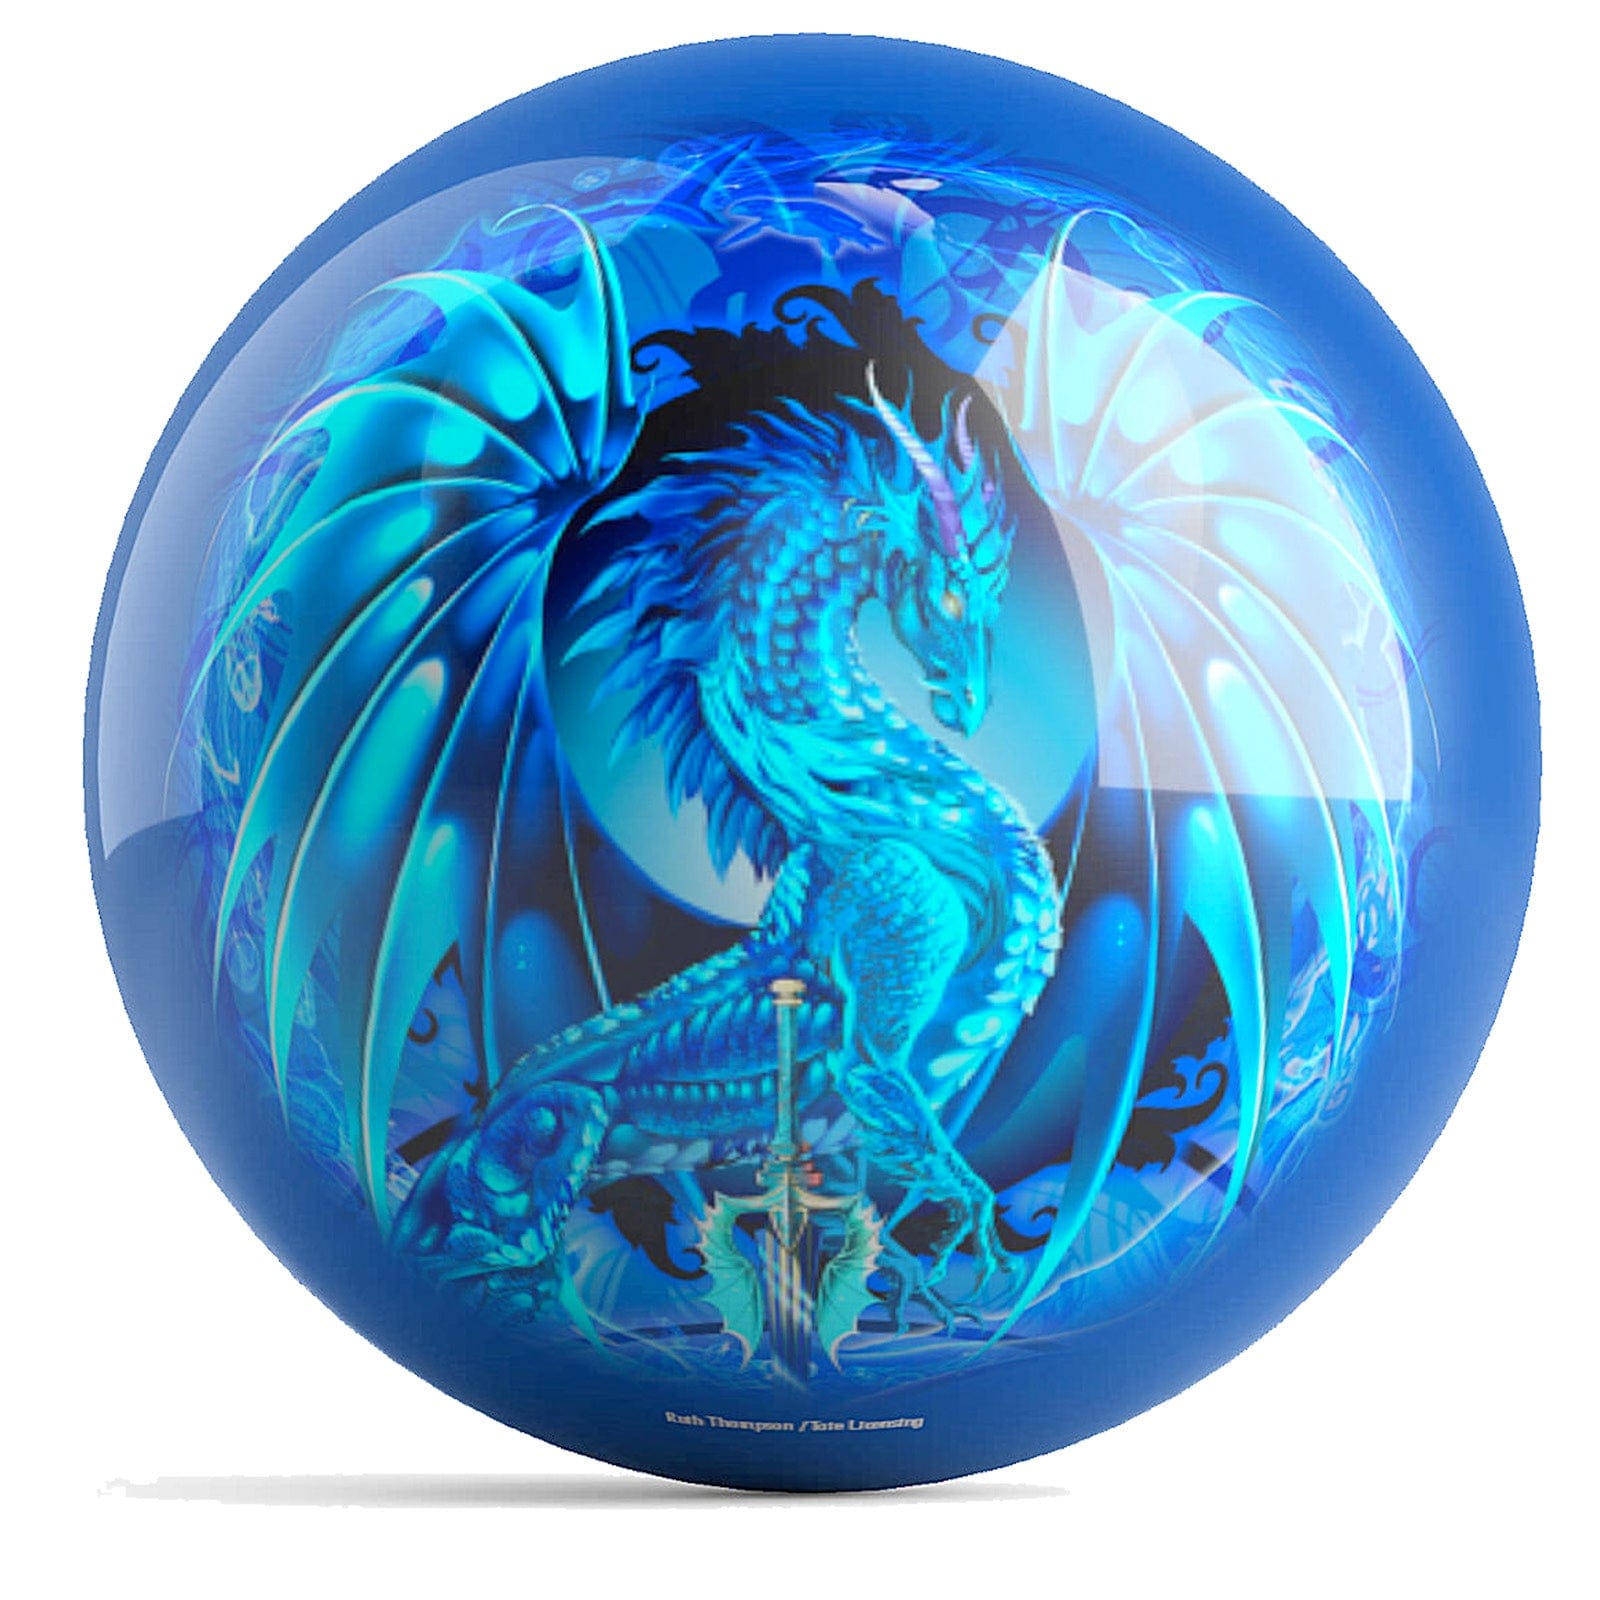
- Balls
- Bags
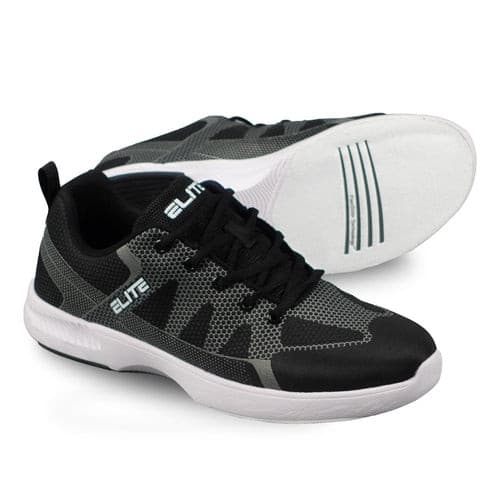
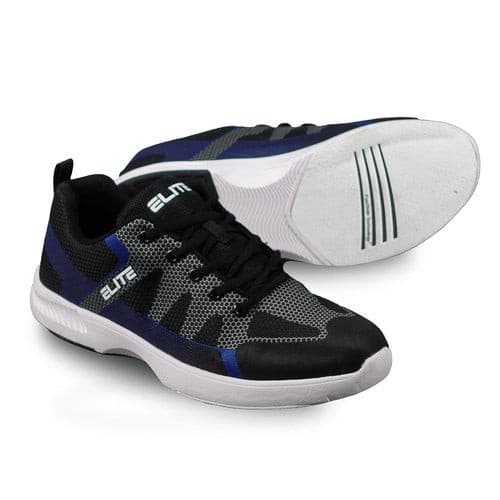
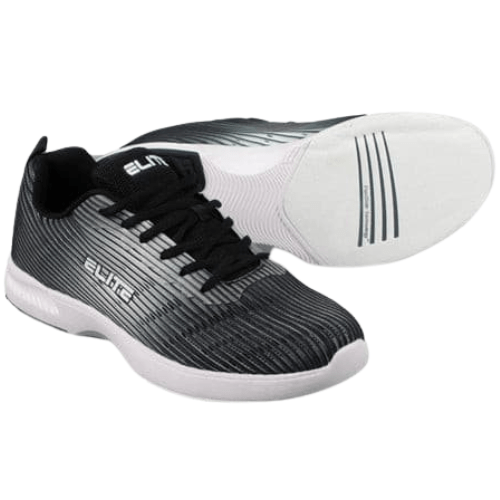
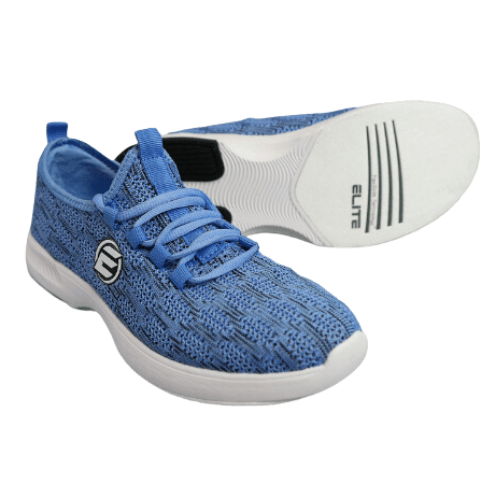
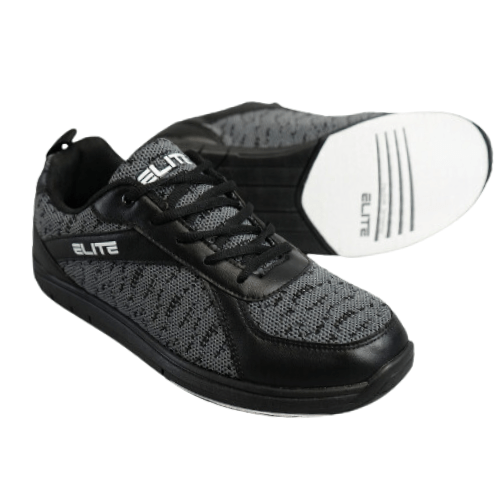
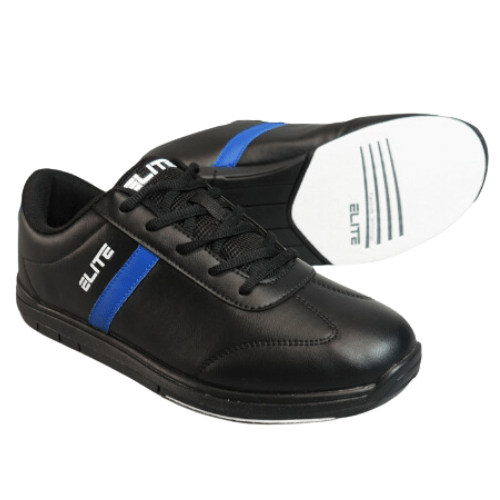
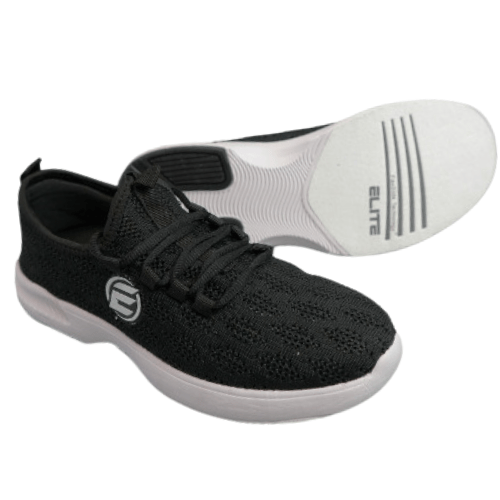
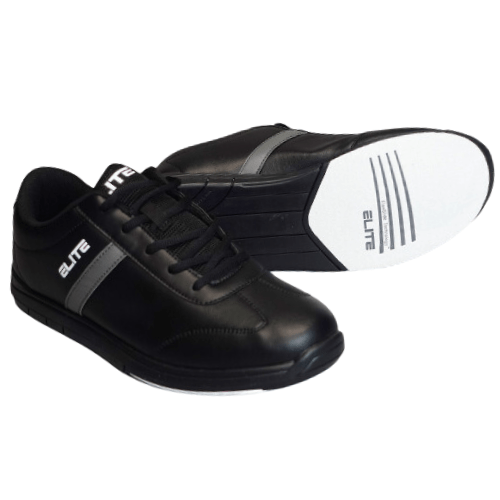
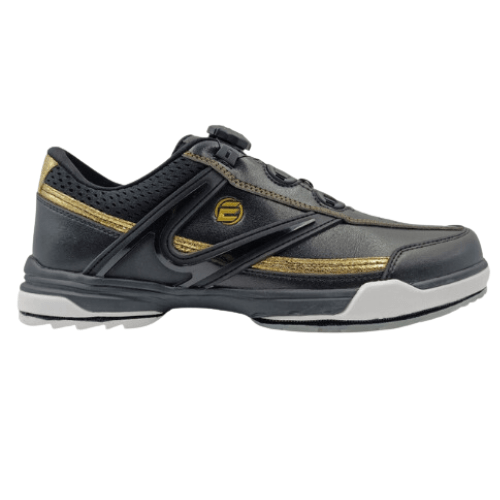
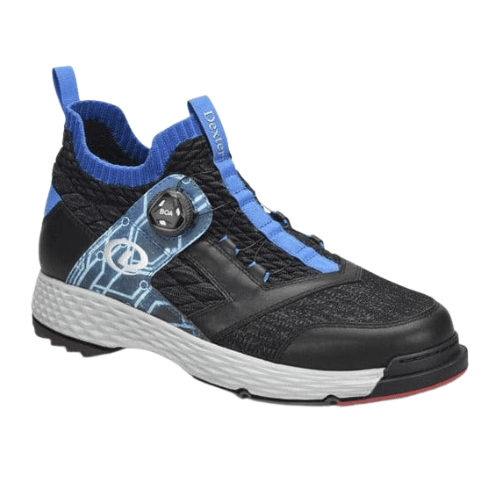
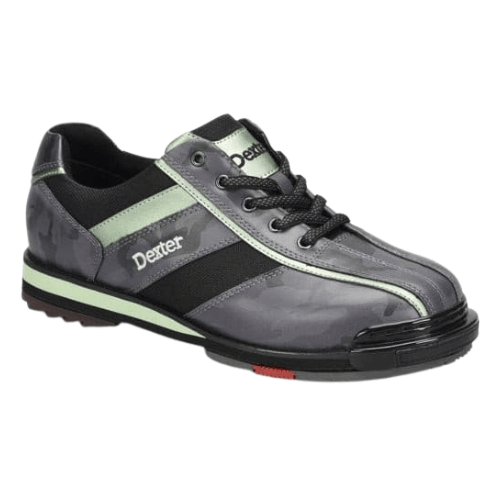
- Shoes
- Accessories
- Gift Cards
- Blog
- Returns Center
- search
Welcome to BowlersParadise.com, your superior online source for premium bowling products. We carry everything a passionate bowler like you needs, from high-quality balls to innovative bowling bags and bowling maintenance equipment.
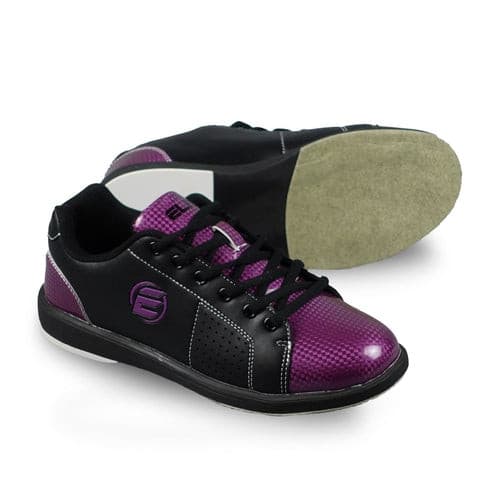
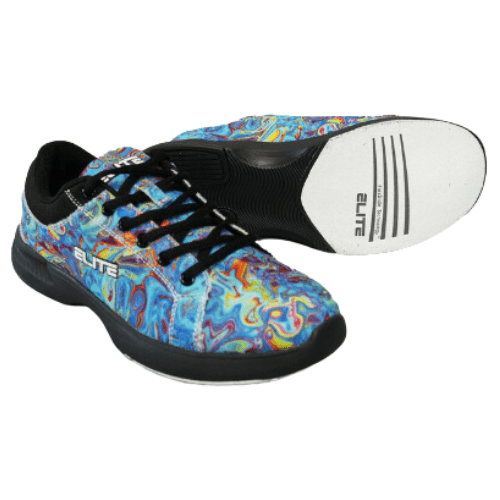
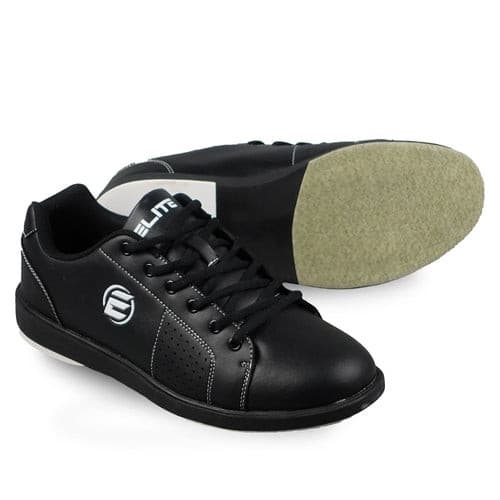
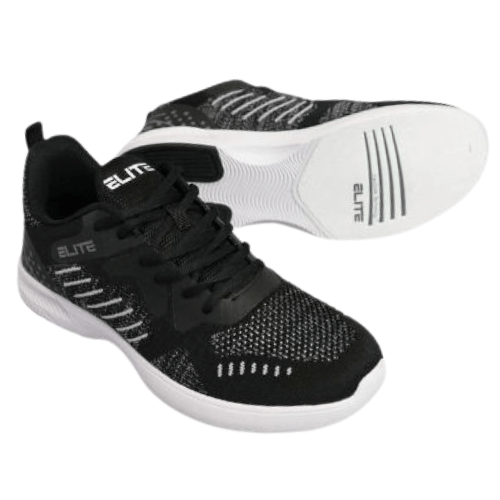
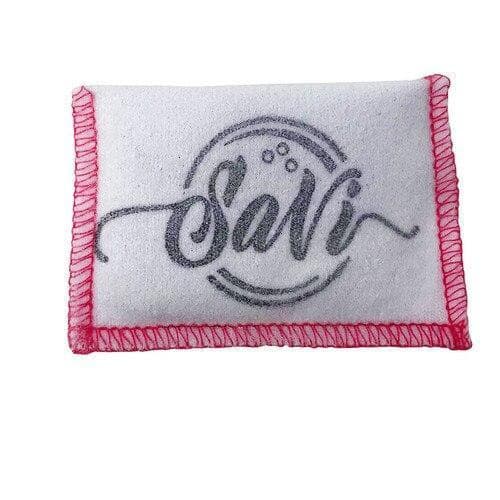
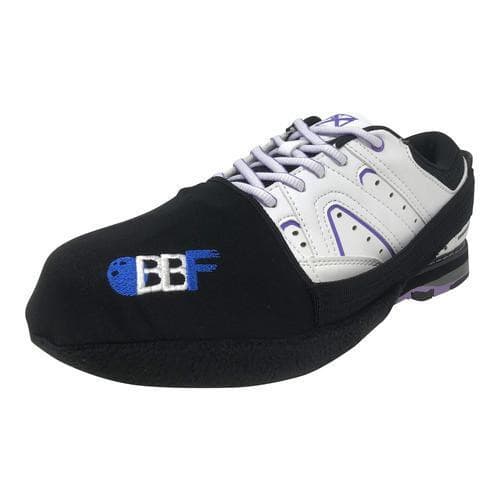
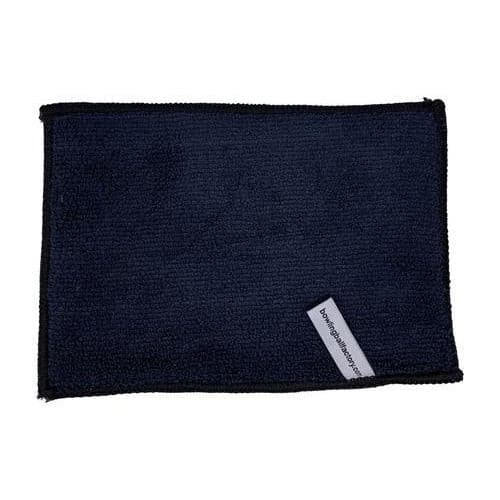
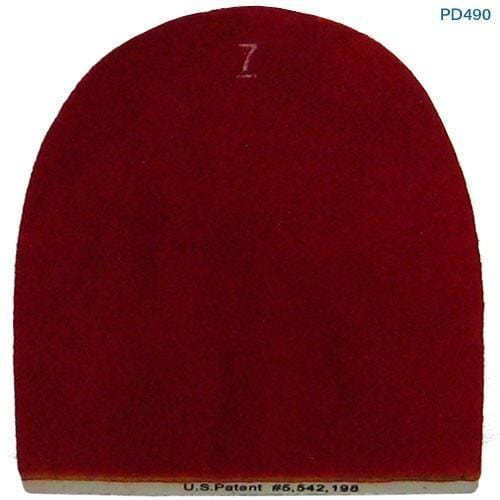
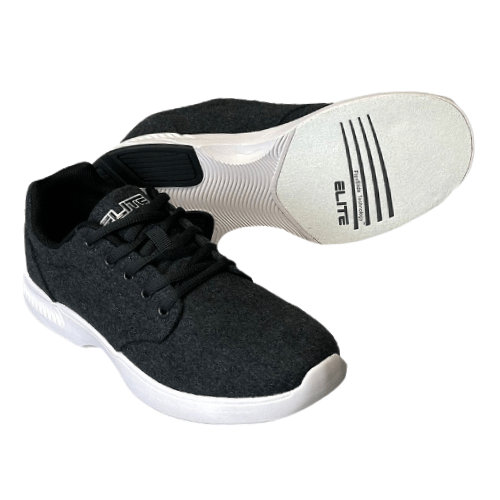
Find your favorites among our collection of fine bowling shoes, gloves, bags, and accessories. Our vast array of exceptional bowling products and apparel will surely elevate your bowling game, increase your comfort, and enhance your enjoyment of the sport.
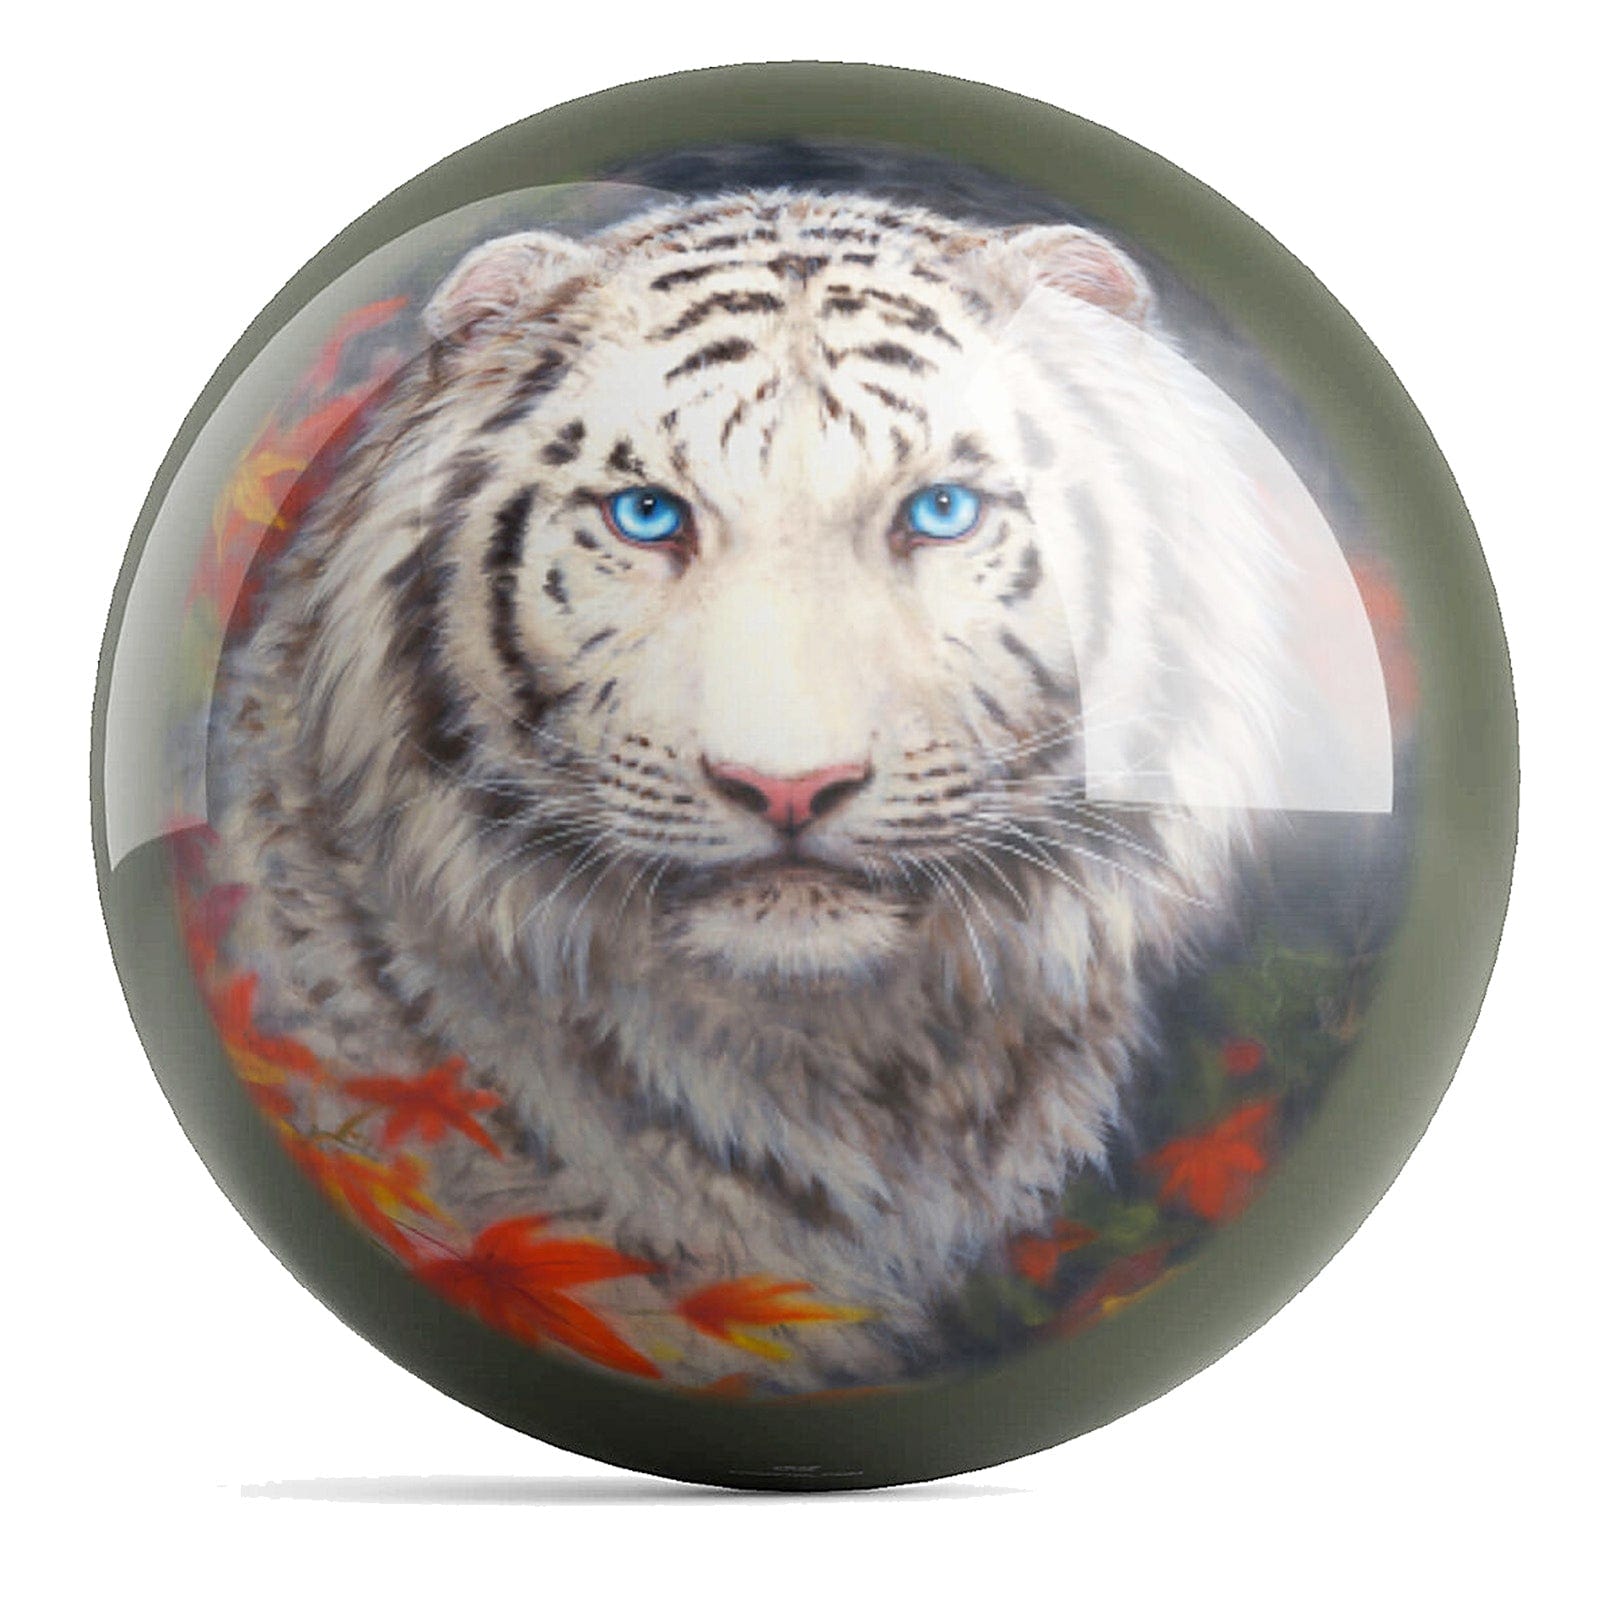
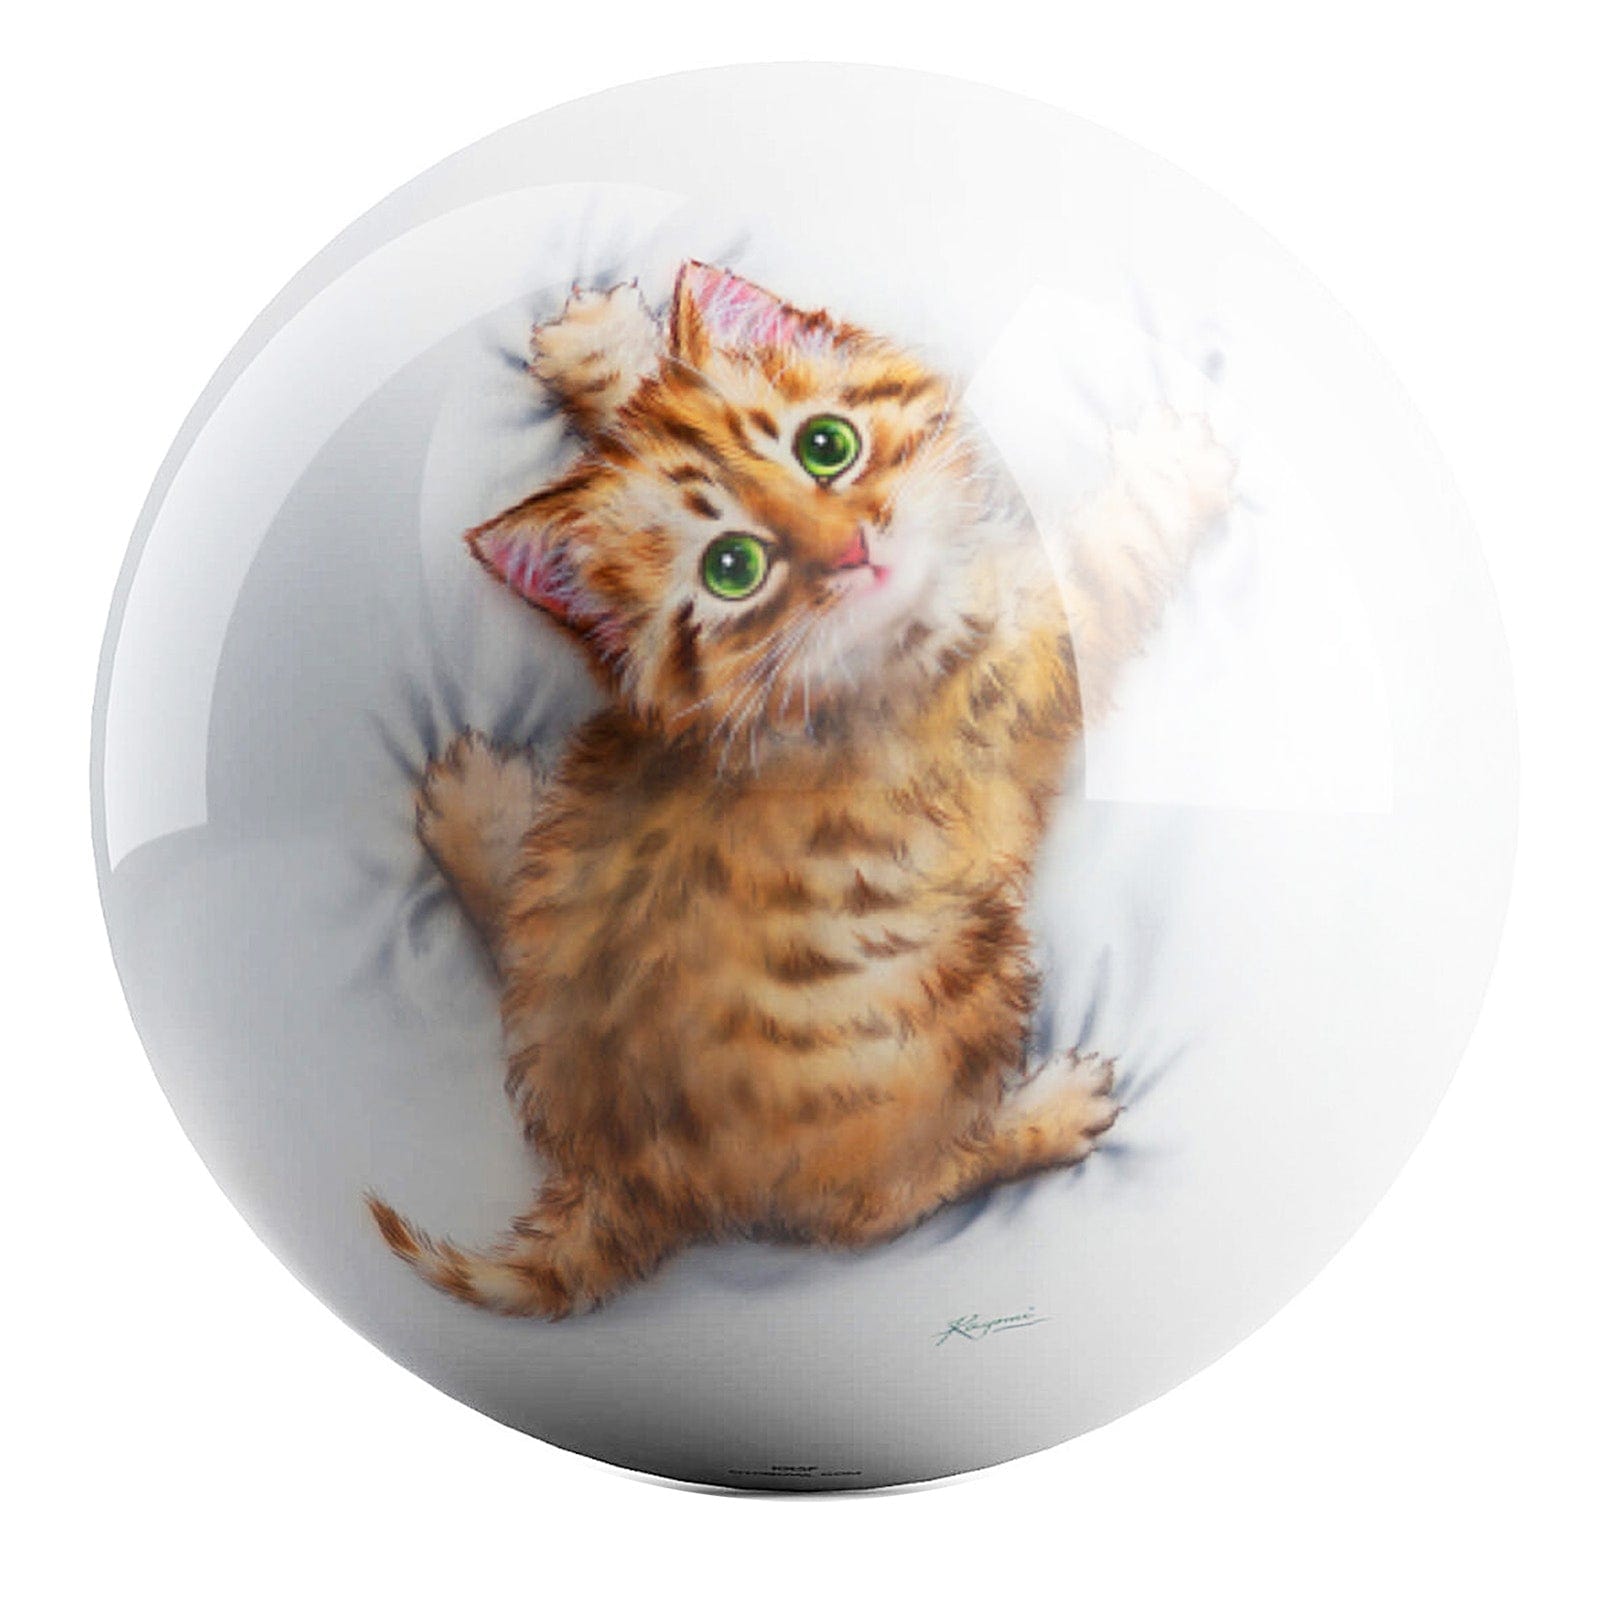
Made to order, these balls are personalized to fit your hand and design specifications.
Available in various weights, these polyester balls are made for spare shooting or straight bowling.
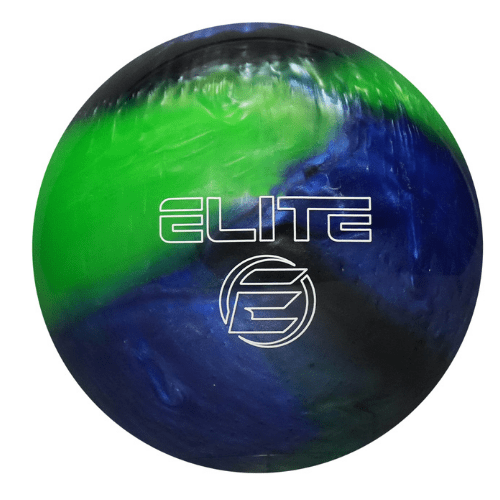
Designed for beginners, these balls will help enhance your skills.
Created for players with some experience, these balls are designed to further elevate your performance.
Made for well-practiced players, these balls will give your performance the additional power and energy it needs.
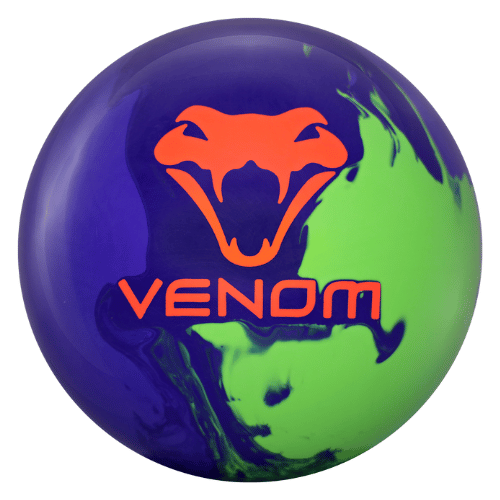
Curated for experts, these balls are engineered to take your performance to the highest level!
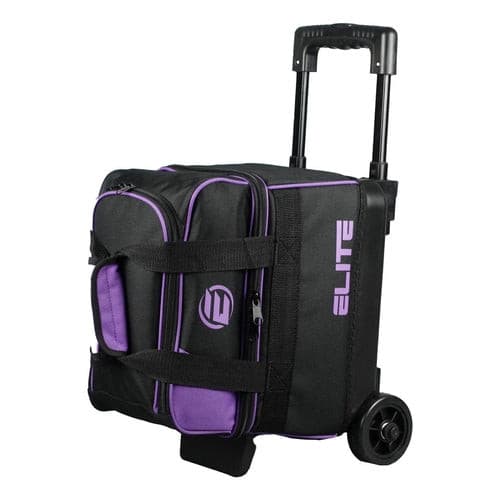
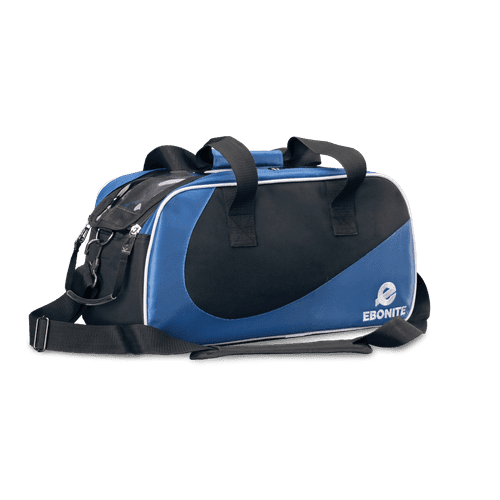
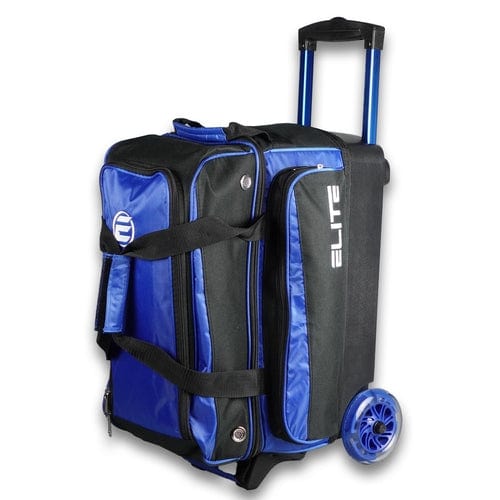
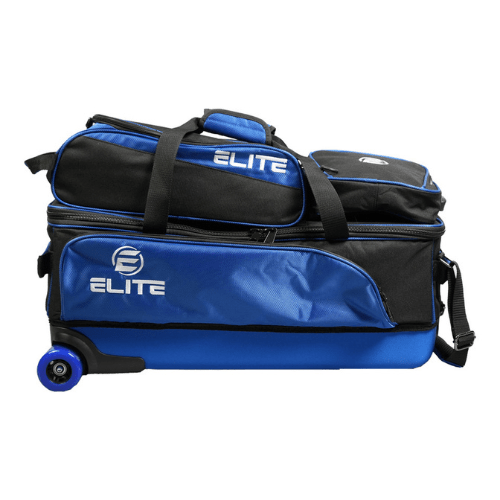
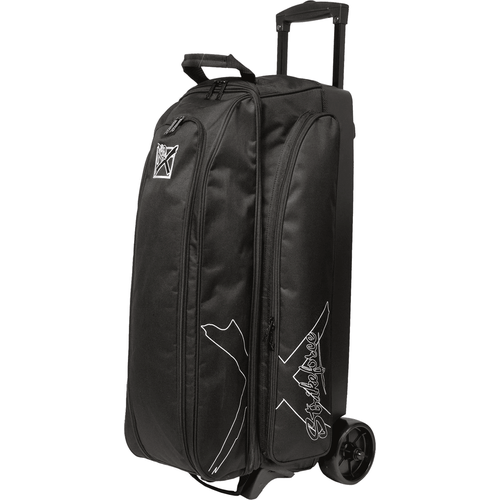
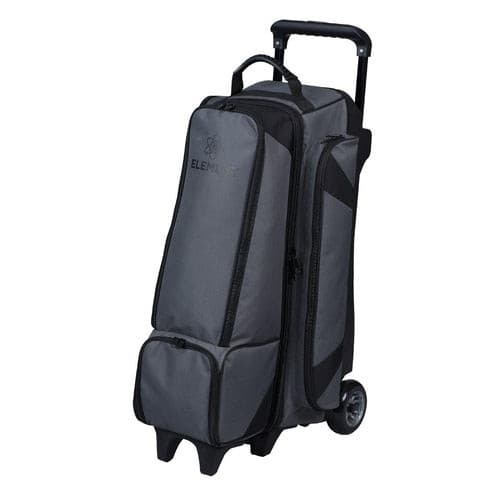
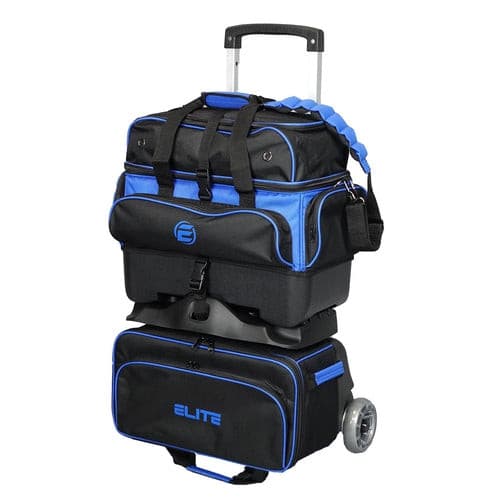
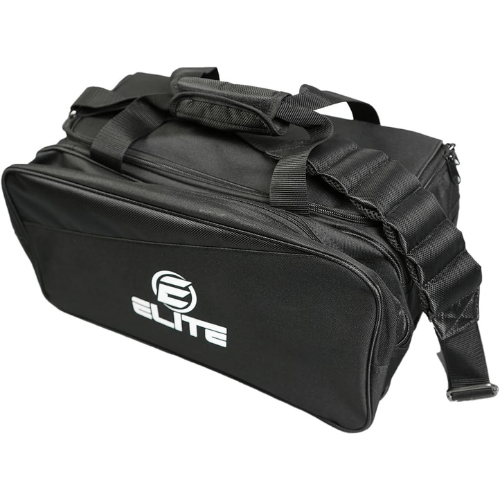
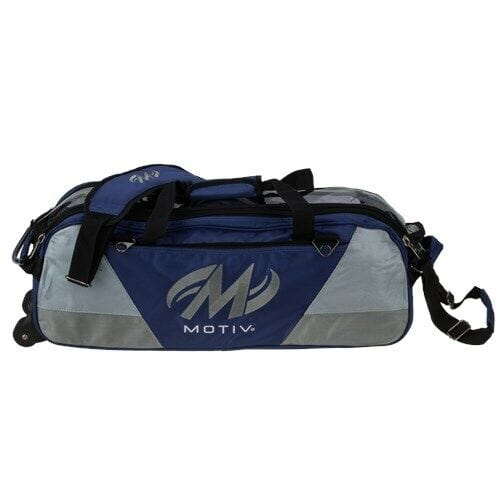
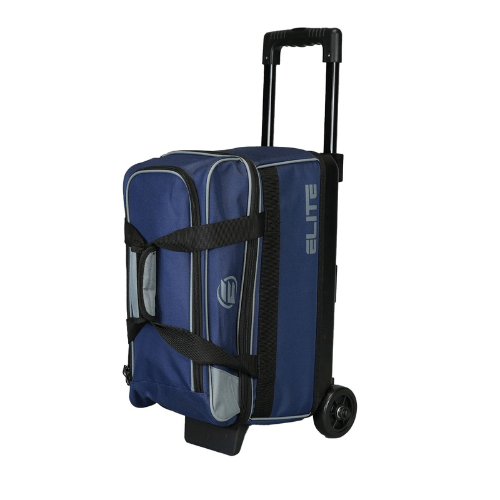
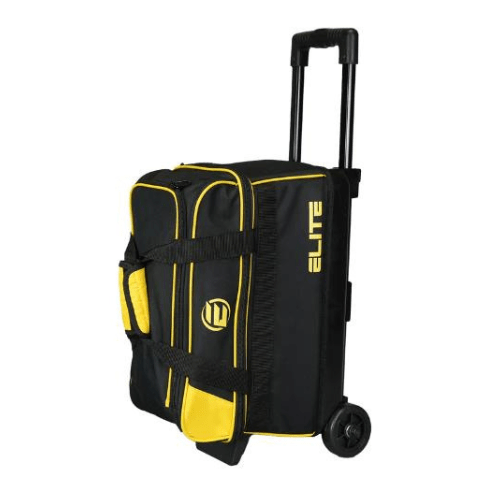
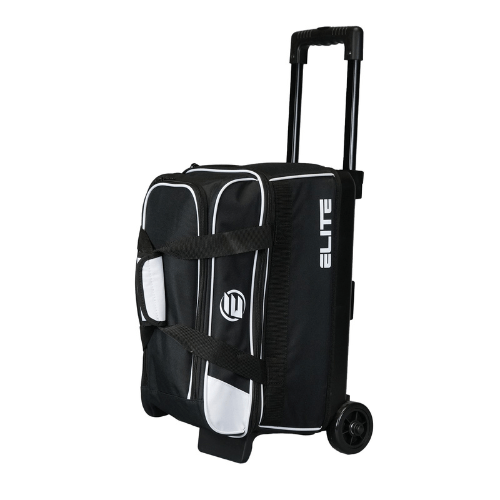
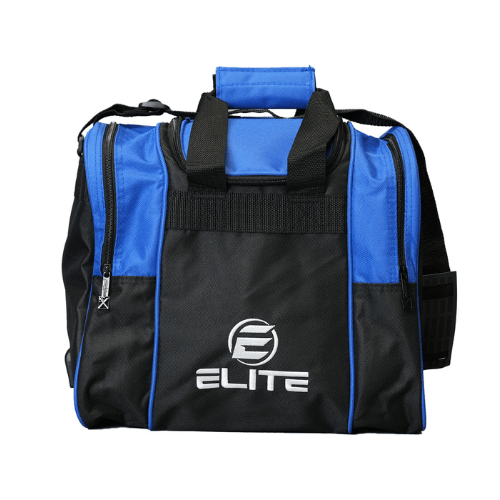
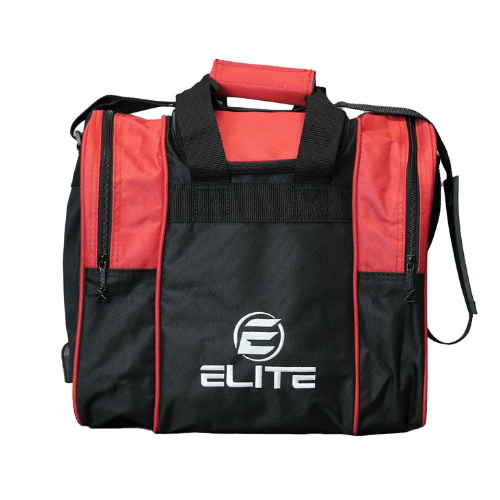
Store your bowling supplies and other equipment in style. With our high-quality bowling bags, you can transport up to four balls without damaging them. Best of all, our rolled and wheeled bags will keep you safe from breaking your back!
Looking for bowling equipment reviews, tips, and other information that will help polish your game? Then, be sure to visit our YouTube channel!
Ball Review VideosPS: Don’t forget to visit our blog for more tips on choosing the right bowling balls, bags, shoes, and more!